Keep the pavers in your driveway, walkways and patio areas looking new all year round with a little bit of occasional maintenance. Hardscaping your property is a great investment and provides additional safety and beauty, increasing your living space, so it’s just as important to keep these areas looking as beautiful as every other space in your home. Here are a few simple DIY projects you can do to keep the pavers in your outdoor spaces looking new all year round.
- Re-Seal every 2 or 3 years. This is important as sealant can help repel discoloration from spills, mold, mud, oil, and grime, but sealant also helps reduce the chances of stains.
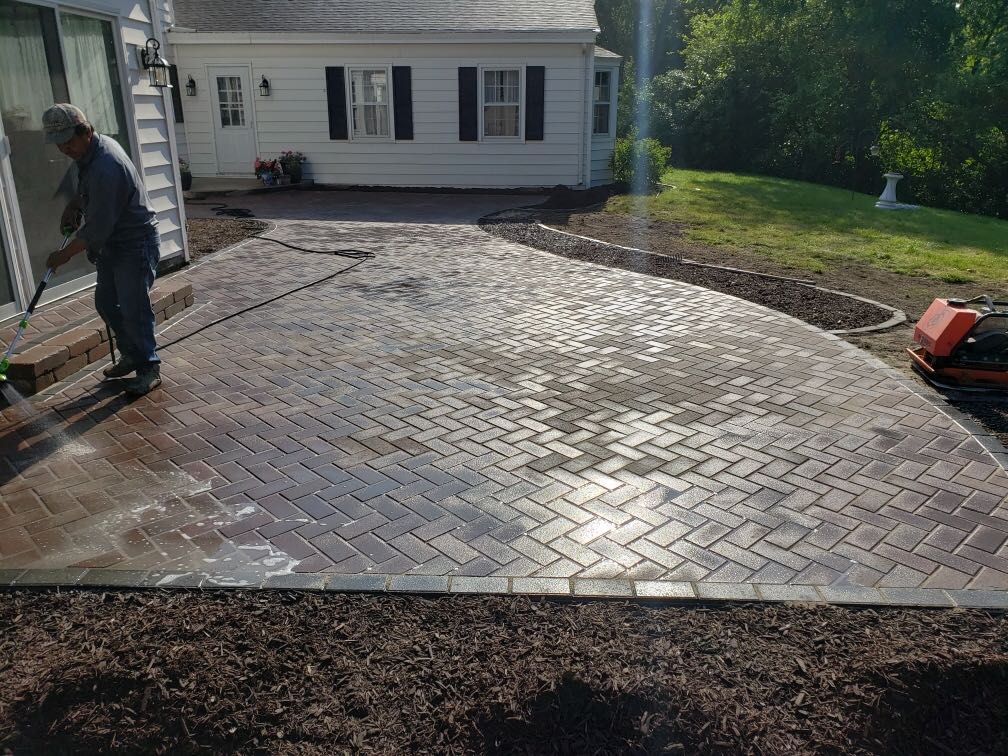
- Between sealing, clean pavers occasionally with a mild detergent and water. Similar to washing your car, just a weak mixture of mild detergent in water and a scrub-brush is all that’s required. Pressure washing isn’t recommended due to the risk of dislodging the sand between the pavers or even the pavers themselves. After you’ve scrubbed, rinse the pavers with just a gentle spray from a regularly pressurized garden hose.
- Use Polymeric sand between pavers. As opposed to washed sand, polymeric sand hardens when wet, creating a tighter seal between pavers and helping reduce the chances of tufts of growth between pavers. If your pavers were originally set with washed sand and it has been several years, the washing and leaf-blowing from routine maintenance has likely dislodged some of the sand. If you think it’s time to replace the sand, use an air hose (wear mask, gloves, goggles, and protective gear) to blow excess sand from cracks and then re-sand with polymeric joint sand.